When it comes to first aid kits, building your own is easy and practical.
Pre-made kits are convenient, but they often include items you’ll never touch — and sometimes leave out the things you reach for all the time. Build your own and know exactly what’s inside and how to use it. That’s what matters in an emergency.
Start With the Right Container
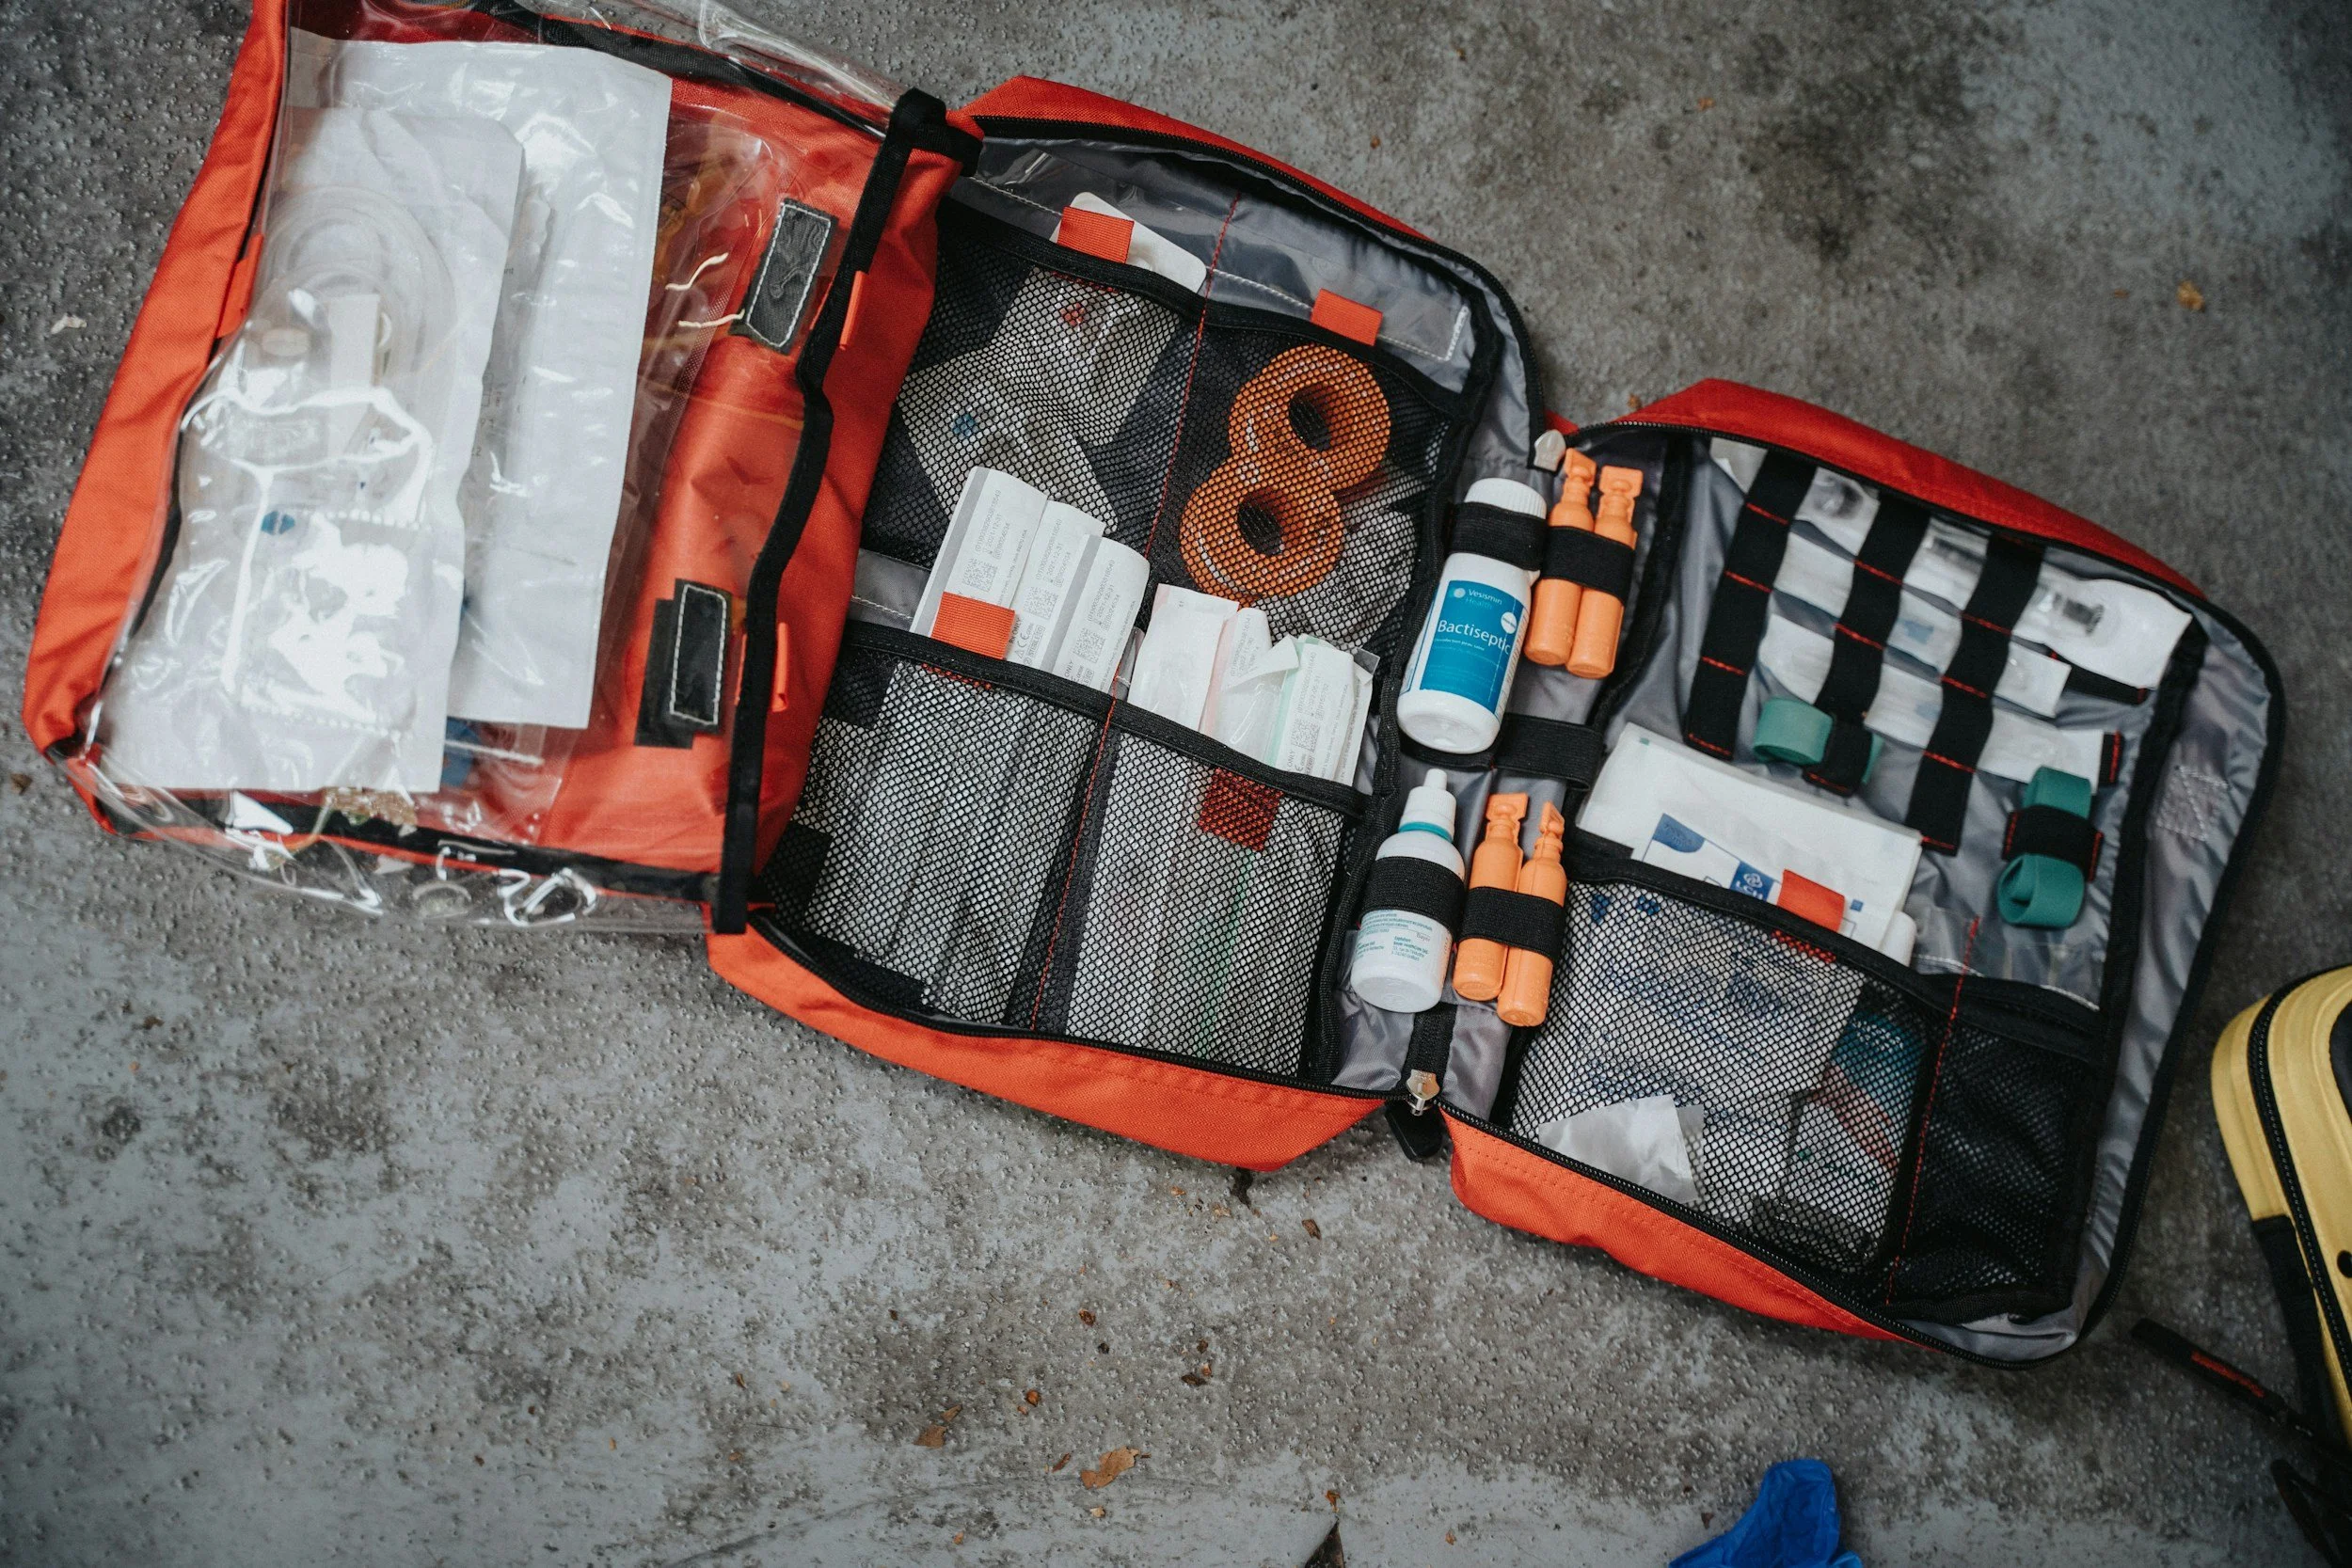
Your kit doesn’t have to be fancy. This is an insulated lunch bag — bright red — and clearly labeled “First Aid” on the top and sides. The key is visibility. In an emergency, you don’t want to search for it.
Choose something that is:
- Easy to recognize
- Easy to carry
- Big enough to grow as needed
Take a First Aid & CPR Class
Consider taking a basic First Aid and CPR class. Not only will you learn practical skills, but you’ll also gain confidence. A first aid kit is only as helpful as the person using it.
Think of these few important questions:
- What common situations could happen that don’t require a hospital visit?
- What would I need to stabilize someone on the way to the hospital?
- What skills do I have — and what supplies support those skills?
- What medical issues are specific to my family?
Your kit should match your knowledge and your family’s needs.
Common Camping Situations to Prepare For
Camping is wonderful — but minor bumps and mishaps are part of outdoor life. Here are some common issues and supplies you may consider.
Sunburns
Burn cream with lidocaine
Bug Bites & Ticks
Tick removal tool
Anti-itch spray
Antihistamine
Pain reliever
Scrapes & Minor Cuts
Tweezers
Gauze
Medical tape
Antibiotic cream
Bandages
Instant cold pack
Upset Stomachs
Antacids
Anti-diarrheal medication
Motion sickness tablets
Nausea relief drops
Colds & Fevers
Cold medicine
Fever reducer
Cough drops
Allergies
Antihistamine
EpiPen (if prescribed)
And yes — even headaches after a long campfire night deserve a little preparation.
Make It Practical
Consider strong reader glasses from the drugstore which work better than a magnifying glass for splinter or tick removal — and they keep my hands free.
If you have additional training (such as triage or wound care), you may want to include:
- Gauze rolls
- Triangle bandages
- Splinting supplies
Your kit should reflect the level of care you are trained and comfortable providing.
When Something More Serious Happens
If symptoms suggest a possible hospital visit, it can help to monitor basic information, such as:
- Temperature
- Heart rate
- Pupil response
- Time and type of medication administered
If you are not going with someone to the hospital you can write this information on a pillow case, blanket or arm of the injured person, include what was given and when. In an emergency, clear information helps medical professionals respond quickly, so including a good sharpie in your kit is helpful.
Don’t Forget Your Pets
If you travel with pets, include:
- Self-adhering bandage wrap
- Styptic pen (for minor bleeding)
- Contact information for your veterinarian
Always consult your vet before administering medications to pets. Some common medications can be dangerous in incorrect doses.
Organize for One-Hand Access
It may be helpful to group and label zipper bags inside the kit. For Example
- “Cuts & Scrapes”
- “Stomach”
- “Allergies”
- “Medications”
In a stressful situation, being able to find what you need quickly — even one-handed — makes a big difference.
Make It Personal
Some items in our kit are specific to our family:
- Emergency dental repair kit
- EpiPens
- Allergy medication
Your kit doesn’t need to match anyone else’s — it just needs to match you.
Final Thoughts
A first aid kit shouldn’t be something you buy once and forget about. Build one that makes sense for your family, your skill level, and the kind of camping you do. Keep it organized. Check it each season. Replace items as they expire.
The goal isn’t to expect the worst — it’s to be prepared enough that small problems stay small. And then you can get back to enjoying camping.